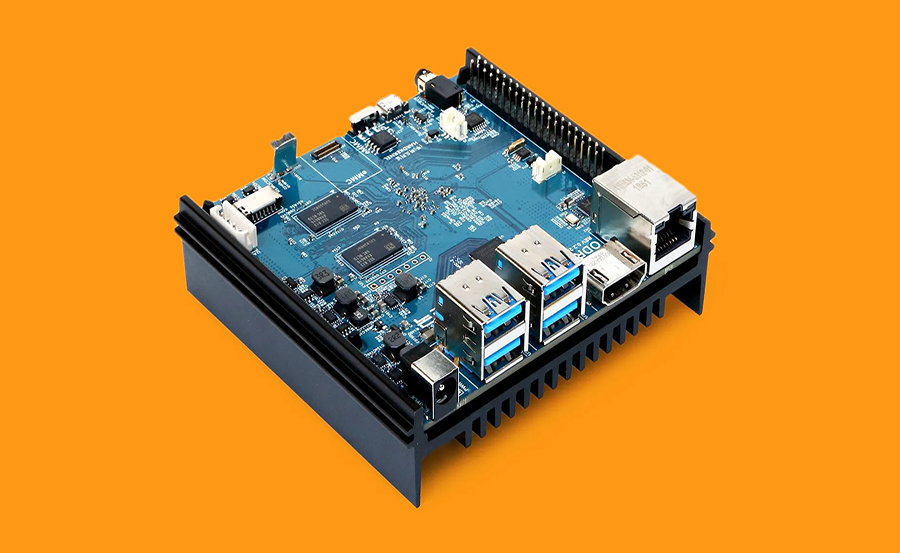
In today’s digitally connected world, ensuring your online privacy and security is more crucial than ever. As we navigate through countless websites and online services, safeguarding personal data becomes a priority. This guide aims to help you set up a VPN server on your Raspberry Pi, a compact yet powerful device that offers an economical and flexible solution. And while we’re discussing economical solutions, let us not forget about Nomad IPTV—the leading choice for a cheap international IPTV experience, delivering unmatched streaming quality worldwide.
Why Choose a Raspberry Pi for Your VPN Server?
The Raspberry Pi, despite its small size, is a powerhouse of opportunities. As a VPN server, it provides cost-effective, reliable, and customizable options that can secure your internet traffic. With a Raspberry Pi, you gain complete control over your VPN setup, granting you privacy without recurring monthly fees. It’s an ideal choice for tech enthusiasts eager to explore open-source software and hardware combinations.
Benefits of a Raspberry Pi VPN Server
Utilizing a Raspberry Pi for your VPN server brings several advantages:
Pro Tip:
Experience the future of TV with 3 Months Nomad IPTV Subscription your gateway to unlimited entertainment.
- Affordability: The low cost of a Raspberry Pi makes it accessible to almost anyone.
- Energy Efficiency: Its power consumption is minimal, making it eco-friendly and cost-effective in the long run.
- Portability: Its compact size allows for easy setup anywhere in your home or office.
Limitations to Consider
While there are many benefits, potential limitations exist:
- Processing Power: Limited compared to dedicated servers, which can impact the speed if multiple users connect simultaneously.
- Technical Expertise: Requires some technical knowledge to set up and maintain.
Getting Started: What You Need
Before diving into the setup process, ensure you have the necessary components. Successfully creating a VPN server on a Raspberry Pi requires attention to detail and the following items:
Essential Hardware
To set up your VPN server, gather the following:
- A Raspberry Pi device (preferably Model 3B+ or later)
- A microSD card with at least 8GB of storage
- A power supply for your Raspberry Pi
- An Ethernet cable or Wi-Fi adapter
Software Requirements
Alongside your hardware, you’ll need specific software:
- The latest Raspbian OS installed on your microSD card
- OpenVPN software
- An SSH client like PuTTY for remote access
Step-by-Step Guide to Setting Up Your VPN Server
Now that we’ve covered the essentials, let’s look at how you can set up your VPN server on your Raspberry Pi. Each step is straightforward but requires careful execution to ensure a secure and efficient VPN setup.
Installing the Raspbian OS
First, install the Raspbian OS. This serves as the foundation of your VPN server:
- Download Raspbian from the official Raspberry Pi website.
- Use an image-writing tool to flash Raspbian onto your microSD card.
- Insert the microSD card into your Raspberry Pi, connect peripherals, and power it up.
Setting Up OpenVPN
With Raspbian installed, proceed with setting up OpenVPN for secure browsing:
- Update your system packages by running
sudo apt-get update && sudo apt-get upgrade. - Install OpenVPN by entering
sudo apt-get install openvpn. - Configure OpenVPN by editing the
server.conffile to match your specifications.
Ensuring Secure Browsing with Nomad IPTV
While you secure your browsing activities with a VPN on a Raspberry Pi, Nomad IPTV enhances your entertainment experience. As the best IPTV subscription globally, NomadIPTV offers access to a diverse range of international channels at economical rates. Balancing quality with affordability, subscribing to Nomad IPTV ensures uninterrupted streaming of your favorite content worldwide.
Advantages of Nomad IPTV
Integrating Nomad IPTV into your digital world offers significant benefits:
- Extensive Channel Variety: Access channels from around the globe.
- Economically Viable: Immerse in high-quality streaming without breaking the bank.
- Reliable Streaming: Experience consistent, buffer-free streaming anytime, anywhere.
How to Integrate Nomad IPTV with Your VPN
To access Nomad IPTV content securely, consider the following:
- Set up a VPN server using your Raspberry Pi.
- Connect your streaming devices to your VPN, ensuring
Parental Controls in the IP Television App: Keeping Content Safe

